How to Build Liquid Classes
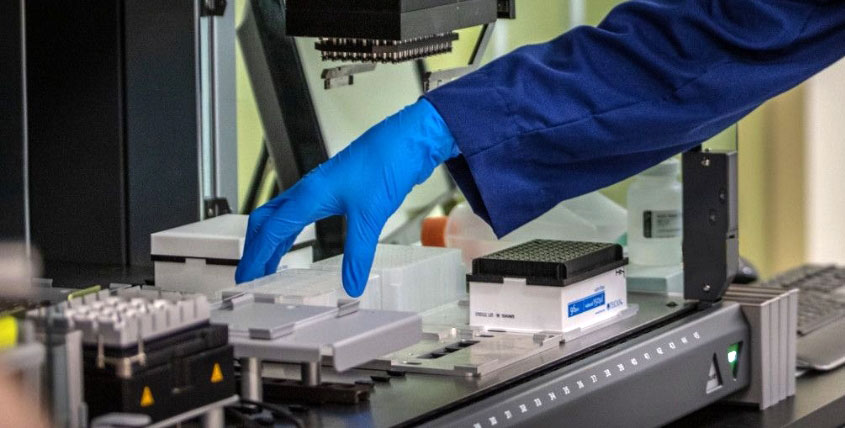
Automating biological applications such as next generation sequencing library preparation, PCR, nucleic acid extraction, cell-based assays and high throughput screening can be challenging because of the diverse types of biological specimens, chemistries and technologies. Learn about considerations and tips for building liquid classes in this guide.
Learn practical tips for choosing an automation partner, navigating instrument capabilities and optimizing protocols.
Prepare the Liquid Handler
- Before you start, the liquid handler needs to be ready for use with the relevant tips and labware available.
- Next, gather all the liquids for your application and ensure they are at the temperature you will be running the instrument.
Properties of Liquid Affecting Aspiration and Dispensing
- Surface Tension
- Contact Angle
- Vapor Pressure
- Temperature
- Humidity
- Viscosity
- Adhesion/Cohesion
- Capillary Action
Utilize Existing Liquid Classes
Before developing a new liquid class, consider using predefined liquid classes as starting points, as they may already be close to your desired definition. In some cases, you may be able to use existing liquid classes without any changes. Most instrument manufacturers have predefined liquid classes for the following categories: aqueous solutions, biological fluids/blood, viscous liquids, volatile organic solvents, and nonvolatile organic solvents.
For example, to create a new liquid class for your PCR master mix, you can begin with water. However, there may be definitions that are even closer to your needs. If you are using an extraction kit, contact the manufacturer to see whether they have predefined liquid classes or something similar. A binding buffer based on a high molar concentration of Guanidine Thiocyanate, for example, will share similar properties with another binding buffer of a similar composition. Reference the manufacturer's Safety Data Sheets (SDS) to find a comparable liquid class definition.
| Aqueous Solutions |
Biological Fluids (Typically Dense/Viscous Aqueous Solution) |
Viscous Liquids | Volatile Organic Solvents | Nonvolatile Organic Solvents |
|---|---|---|---|---|
| Water | Whole Blood | Glycerol | Ethanol | DMSO |
| Buffered Solutions (i.e. TE/PBS) | Serum/Plasma | Higher Alkanes (i.e., mineral oil) | Isopropanol | Lower Alkanes |
| Most Enzymatic Reaction Components | Saliva |
Identify a predefined liquid class from this table to start with. It has been arranged to classify groups of liquids that affect liquid handling similarly. Properties that most affect liquid handling include vapor pressure, viscosity, surface tension adhesion, cohesion, density, and capillary action.
Visual Inspection Phase of Pipetting Optimization
- Develop one liquid transfer step at a time.
- Pick a predefined liquid class and set up the liquid handler with the appropriate liquid and labware. It is important to use the intended labware and liquid you plan to use.
- If the liquid is precious or expensive, you can use a similar liquid for this initial optimization step.
- Build a simple liquid transfer step mimicking the volume and action needed. Run the method and visually inspect the following:
- When is the submerged depth of the tip correct?
- Do you observe droplets on the ends of the tips after aspirating?
- What is the correct dispensing height? For instance, if the dispensing volume is 20µl, dispensing from the bottom of the well is appropriate.
- Are there droplets on the tip following dispensing? Do bubbles form and stick to the tip?
- Is there dripping when transferring? Is the liquid retained well in the tip following aspiration?
- Is the volume being transferred correct? Is it consistently transferring the same amount of liquid? Evaluate qualitatively using a calibrated manual pipette set at the correct volume.
- Create and save the liquid class, then change one parameter at a time until the transfer performs correctly and meets the criteria above.
General Tips
- Draw a small volume of air into the handler’s pipette before drawing up liquids to ensure the entire liquid volume is dispensed.
- After loading the pipette with liquid, draw up some air to prevent dripping.
- Pre-wetting pipettes by pipetting 2 to 3 times can improve accuracy. This is especially true for viscous liquids.
- When working with viscous liquids, draw extra reagent into the pipette to make sure the correct volume is dispensed.
- For liquids that are difficult to pipette, immerse the pipette tip into the liquid layer while dispensing. Do not reuse this tip for dispensing.
Viscosity
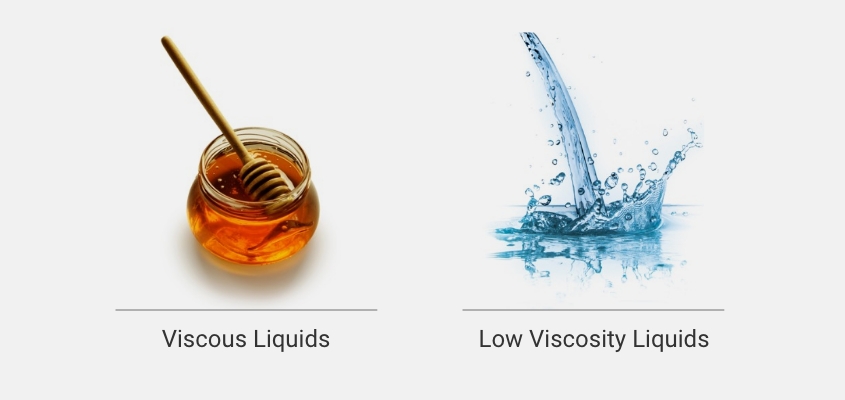
Viscous liquids are those liquids that are less fluid-like and have a slow flow (e.g., glycerol).
Use a slow aspiration and dispensing rate when dealing with these liquids.
Low viscosity liquids are those that have thin rapid flow like water.
High flow rate can be used here for maximum efficiency.
Adhesion and Cohesion
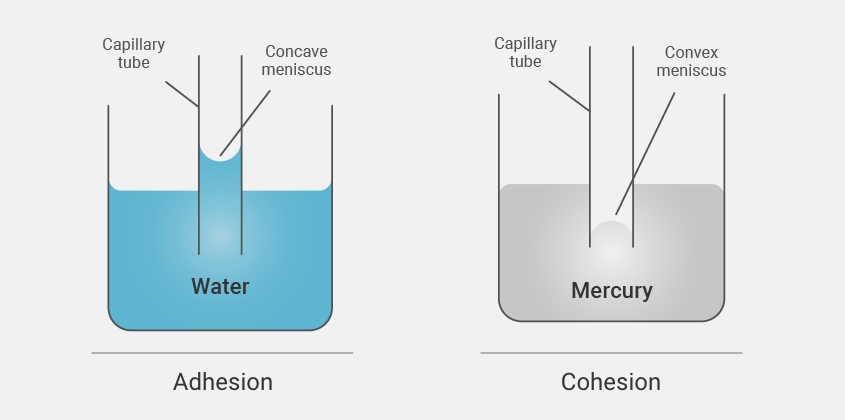
Adhesion measures how much particles stick to particles other than themselves.
Liquids with high adhesion require more force and air displacement when dispensing, while low adhesion liquid require less force and less displacement volume.
Cohesion measures how strongly particles wants to stick to itself.
Liquids that effectively stick to themselves (high cohesion) require less force to keep the liquid in the tip, so less air displacement is needed after aspiration.
However low cohesive force liquids need more air following aspiration to keep the liquid in the tip.
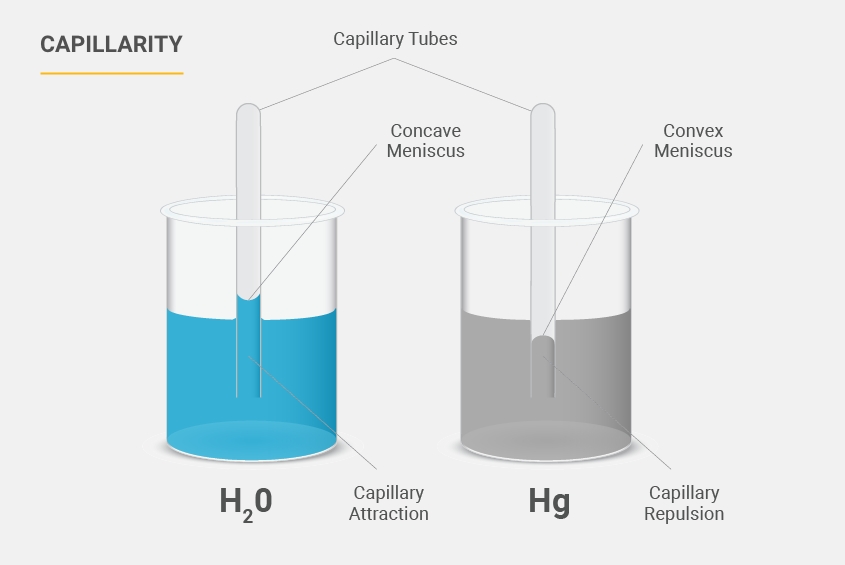
Capillary Action
Capillary action happens when the liquid's stickiness to the surface of an object, like a pipette tip, is stronger than the pull that keeps the liquid together. Water has strong adhesion, so it can climb up plastic tips, showing significant capillary action.
High capillary action liquids like water can have the most impact in smaller pipette tips (<50µl), leading to more liquid being aspirated than intended.
Surface Tension
Surface tension is property driven by cohesion and measures how much a liquid resists spreading on a surface, thereby achieving the least surface area possible.
Low Surface Tension Liquids
Low surface tension liquids require more air buffer after aspiration to keep the liquid in the tip (e.g., ethanol).
Minimize the distance between the tip and the liquid or labware for easier liquid dispensing.
High Surface Tension Liquids

High surface tension liquids do not need a large air buffer after aspiration.
Minimize the distance of the tip from the liquid or labware for easier liquid dispensing.
Contact Angle
Contact angle is the angle a liquid makes with labware. The highest contact angle is driven by reducing the adhesive forces. The typical contact angle of water on plastic is around 90°. Treated hydrophobic plastics can achieve an angle of around 130°. Super hydrophobic surfaces can achieve >160°.
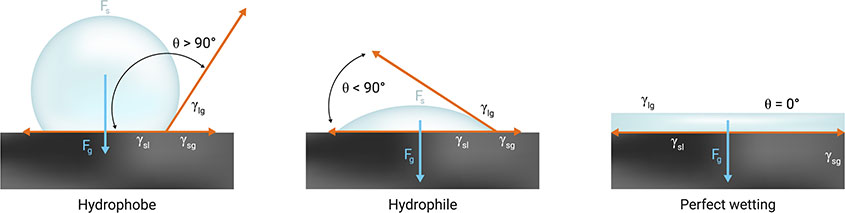
For high contact angle situations, ensure the tip enters the liquid as the liquid will be repelled.
Low contact angles can be difficult to aspirate when volumes are low, therefore it is recommended to touch or nearly touch the bottom of the well. A side touch can also facilitate dispensing.
Vapor Pressure and Humidity
Liquids with high vapor pressure will continually off-gas due to low atmospheric pressure. Low vapor pressure liquids, on the other hand, are more likely to drip. Pre-wetting the tip by aspirating and dispensing before preparing to transfer the liquid can help correct the pressure in the tip. Use a larger displacement volume when dispensing the liquid.
Environmental humidity can also impact liquid handling processes. Dry environments can result in increased static electricity, making low-volume pipetting more challenging and causing rapid water evaporation.
Temperature affects every major property of the liquid, therefore shifts in temperature can affect liquid class definitions and pipetting accuracy.
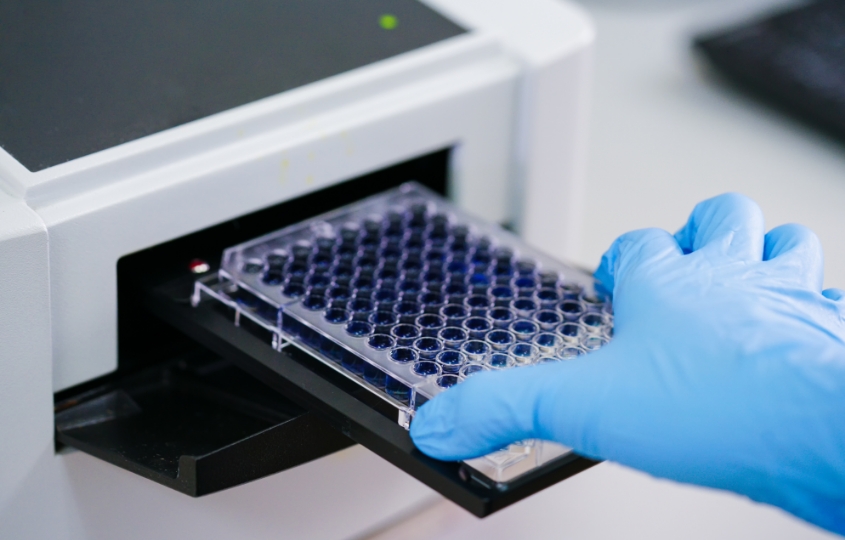
Verification
Once the liquid transfer appears correct, you will need to verify the measurements more precisely with mass measurements and further home in on the target. Photometric or fluorometric methods could be used here as well. By adding dye to the liquid, you can verify the dilution via a plate reader.
Automate Your Lab Worksheet
Plan your lab automation project with this worksheet.